You need
- 2 squares of plain fabric--10 cm square is good.
- a matching button
- polyester fibre fill for stuffing
- your basic sewing kit
What to do . . .
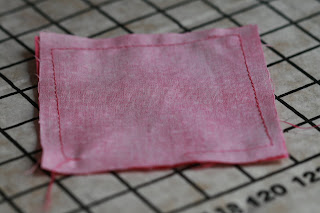
- Place the right sides of the two squares of fabric together and sew around the edges. Leave a gap to turn it through to the right side and for the stuffing. You can use the outside of the presser foot as a guide for your sewing. that will leave a nice width for your seam. Notice that I've sewn a little bit of the fourth side of the square as well as all of the three other sides. That will make it easier to keep the corners neat.
- Clip off the corners of the fabric--make sure you don't snip the stitching.
- Turn the whole thing inside out--or right side out:) You can use the back of a pen or something like that to poke the corners out. Notice how I've got four corners because I sewed a bit on each end of the fourth side.
- Now the stuffing: start with a little bit in each of the corners and then stuff the middle. Just use a bit at a time, but do stuff it nice and firmly.
- Next step is to sew up the little opening. I'll do this by hand because the stitches won't show as much that way.
- Finally, sew the button on in the middle, through all thicknesses. That will make the cushion nice and plump, so hopefully the pins won't stick out through the bottom.


No comments:
Post a Comment